HOW TO

Hints and tips for switch riding

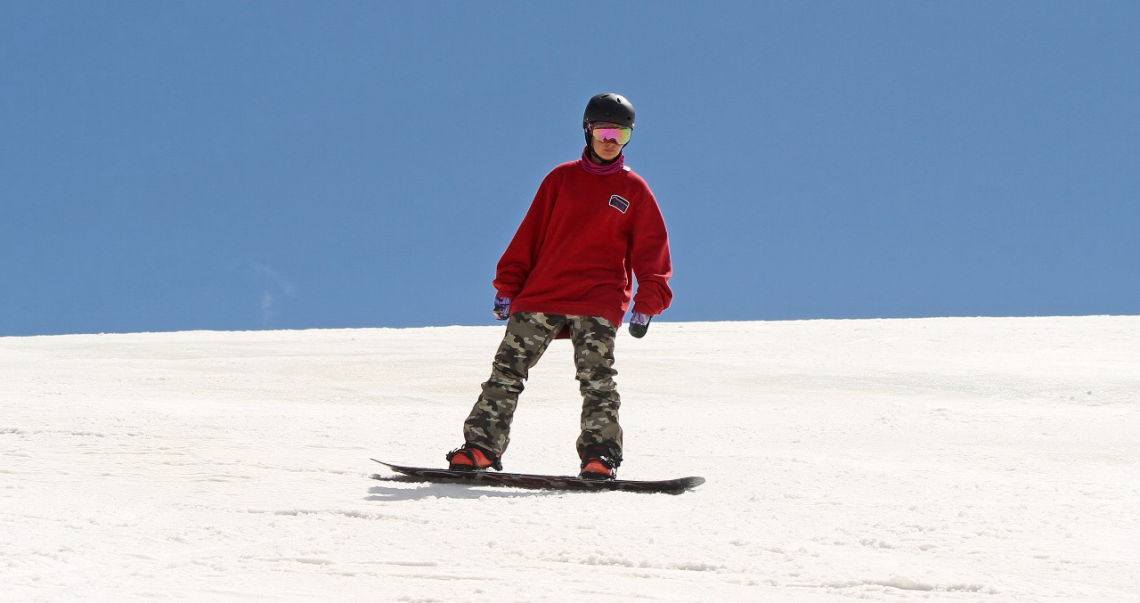
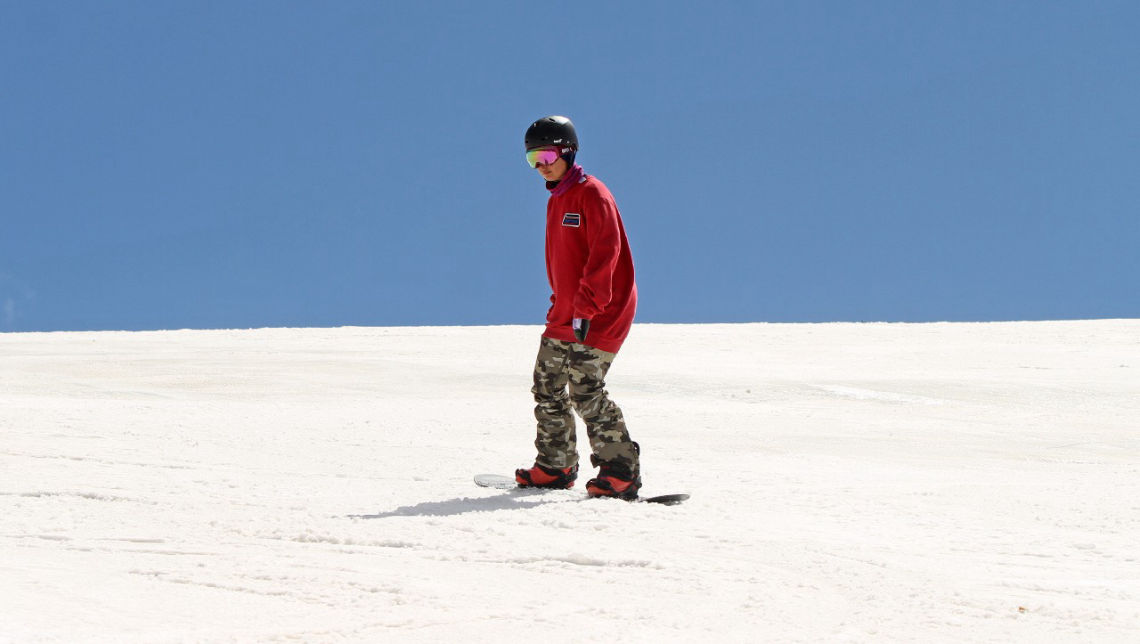
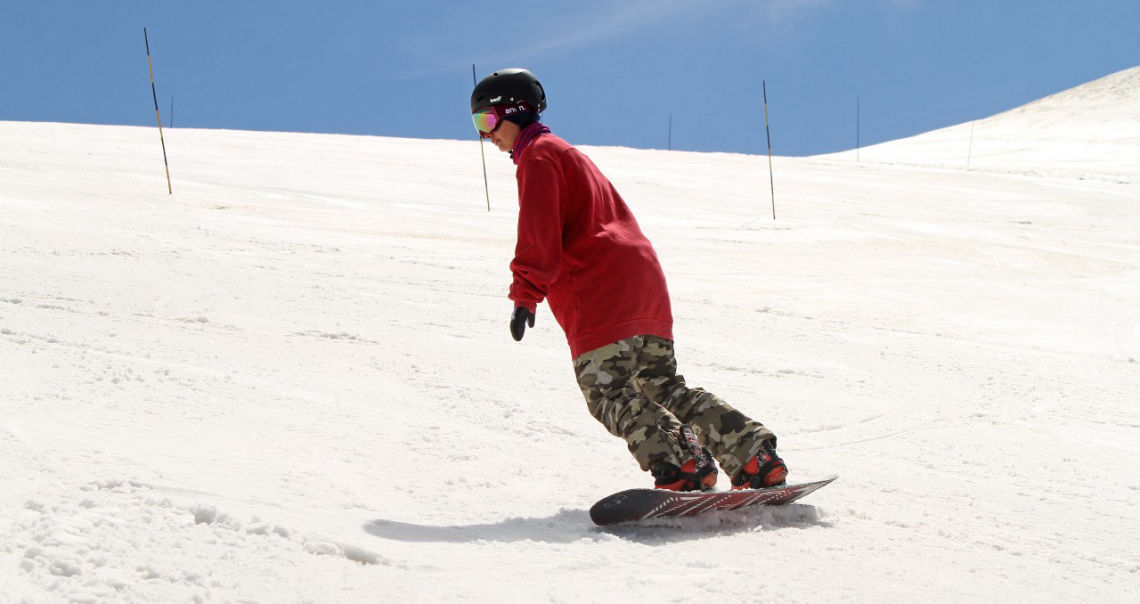
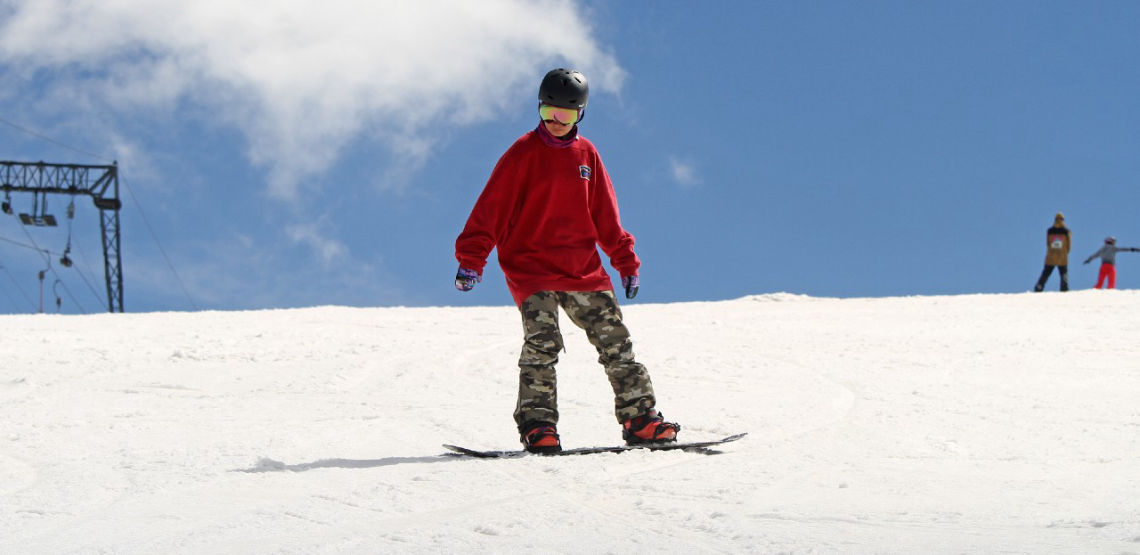
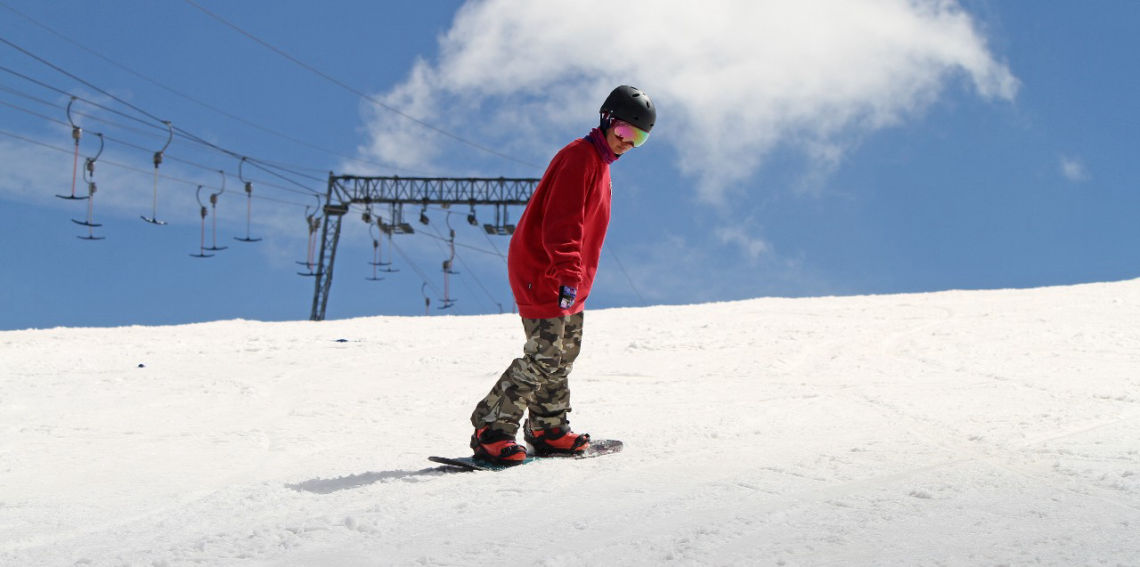
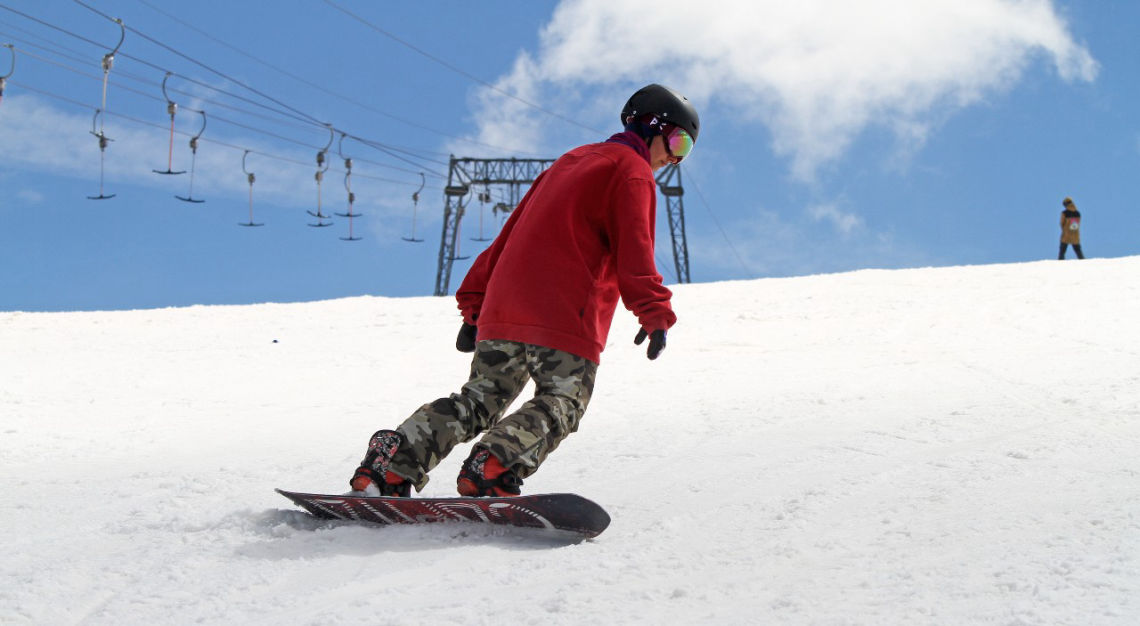
Starting to work on switch can be a nightmare. Typically we go straight into turning just like our normal riding and things rapidly get out of control as we accelerate and start leaning back, or whip our shoulders around and catch an edge.

The key is to keep things simple and take your riding back a notch. Think about your first ever turns. They were very 'C' shaped. You didn't spend much time in the fall line. You traversed across the slope, completed a quick edge change and then started to control your speed on the new edge going back across the slope.

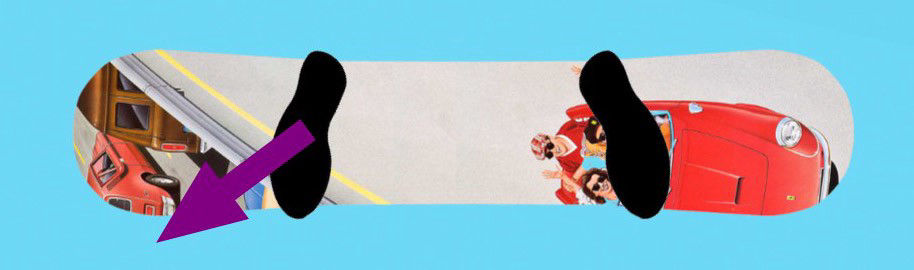
Thats the perfect start for learning switch. Most guys can get the toes to heel edge turn as you often just look round and let the board flow into the turn. The problem happens when you start to look at the other turn. The heel to toe edge turn is a the most common issue I have to resolve in coaching switch. Thats' what I'll focus on in this article.

Switch Heel to Toe Turn - Left Foot Forward

The heel to toe turn is tricky. The most common issue is people leaning over their back foot as they try to turn. This make turning difficult so people try to use their shoulders to force the board around and dump the toe edge in the snow resulting in the typical toe edge catch.

Stage 1 - Forward Motion

What you're looking to do is focus on a sideways motion to begin with. Start the board moving across the slope with your body moving into a more forward posture through the board. This will start the turning process without you focusing on the downhill section. Plus this can be done at a very slow speed. This forward posture is very simple. Just image you're a teapot pouring a cup of tea. You bend your front knee and tilt slightly at the hips through the board as your lead hand moves more towards your front knee. If the teapot idea is a bit weird imagine you're trying to shift your weight to balance on your front foot.

Stage 2 - Steering

Initiate the turn with by pushing your front knee towards the farthest toe edge corner of the board (see pictures). You'll find the board will start to drop for the turn without you having to do anything else.Try to relax and not rush the turn. Your front shoulder will drop naturally as you flex your front knee. Go with the movement and resist the urge to force the board around with your shoulders or shift your weight to the back leg too soon.

To speed up the initial turn you can slightly lift your back toes just as you start to push your front knee forward. That will create more of a twist in the board. Only hold your back foot toes up for the first 30–45 degrees of a turn otherwise the heel edge will start to catch in the snow.

Stage 3 - Braking

You're most certainly going to have too much weight on the back foot the longer you spend going down hill, so we want to start braking by using turn shape. Start to look across the slope and push your knees out hard to bring your weight back to the centre of the board. That way you can naturally control your speed without relying on a big edge tilt.

Switch Heel to Toe Turn - Right Foot Forward

The heel to toe turn is tricky. The most common issue is people leaning over their back foot as they try to turn. This make turning difficult so people try to use their shoulders to force the board around and dump the toe edge in the snow resulting in the typical toe edge catch.

Stage 1 - Forward Motion

What you're looking to do is focus on a sideways motion to begin with. Start the board moving across the slope with your body moving into a more forward posture through the board. This will start the turning process without you focusing on the downhill section. Plus this can be done at a very slow speed. This forward posture is very simple. Just image you're a teapot pouring a cup of tea. You bend your front knee and tilt slightly at the hips through the board as your lead hand moves more towards your front knee. If the teapot idea is a bit weird imagine you're trying to shift your weight to balance on your front foot.

Stage 2 - Steering

Initiate the turn with by pushing your front knee towards the farthest toe edge corner of the board (see pictures). You'll find the board will start to drop for the turn without you having to do anything else.Try to relax and not rush the turn. Your front shoulder will drop naturally as you flex your front knee. Go with the movement and resist the urge to force the board around with your shoulders or shift your weight to the back leg too soon.

To speed up the initial turn you can slightly lift your back toes just as you start to push your front knee forward. That will create more of a twist in the board. Only hold your back foot toes up for the first 30–45 degrees of a turn otherwise the heel edge will start to catch in the snow.

Stage 3 - Braking

You're most certainly going to have too much weight on the back foot the longer you spend going down hill, so we want to start braking by using turn shape. Start to look across the slope and push your knees out hard to bring your weight back to the centre of the board. That way you can naturally control your speed without relying on a big edge tilt.

Follow us

FOLLOW THE FUN & PROGRESSION

Join the community

SIGN UP TO BE INFORMED & INSPIRED

© Copyright 2008-2024 Maverix Snow Ltd - All Rights Reserved - Privacy Policy - Terms & Conditions - Sitemap